
Nikon D5000: A Comprehensive User Guide (Updated 04/28/2026)
Welcome! This guide assists you in understanding and successfully operating your newly acquired Nikon D5000․ Instructions are provided for optimal product usage, today is 04/28/2026․
Welcome to the world of DSLR photography with the Nikon D5000! This user guide is designed to empower both novice and experienced photographers to fully utilize the capabilities of this remarkable camera․ Receiving your Nikon D5000 opens doors to creative expression and stunning image quality․
This manual, updated as of April 28th, 2026, will walk you through every aspect of the camera, from initial setup and basic operation to advanced techniques․ We aim to provide clear, concise instructions, ensuring a smooth and enjoyable learning experience․ Prepare to unlock your photographic potential with this comprehensive resource!
Key Features and Specifications
The Nikon D5000 boasts a 12․3-megapixel DX-format CMOS sensor, delivering exceptional image detail and clarity․ It features an impressive 2․7-inch LCD screen for vibrant image review and composition․ Capture stunning photos with its ISO range of 100-3200, expandable to 6400․
Enjoy continuous shooting at up to 3․5 frames per second․ The D5000 supports SD and SDHC memory cards for ample storage․ Its lightweight and ergonomic design ensures comfortable handling․ As of today, 04/28/2026, it remains a capable entry-level DSLR for aspiring photographers․
Understanding the Camera Body & Controls
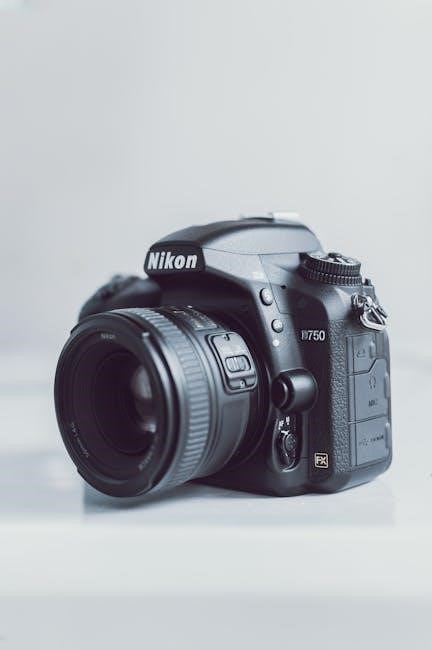
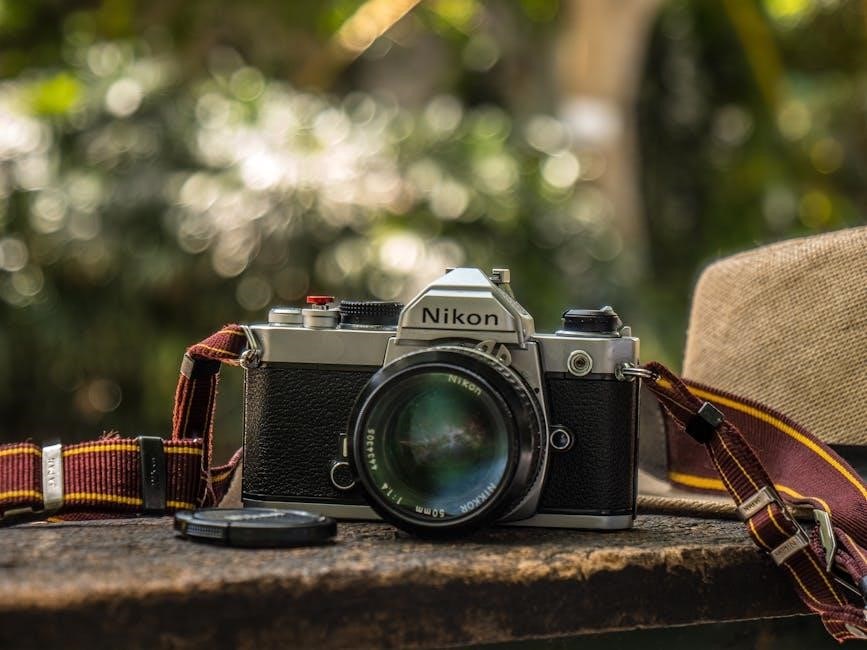
The Nikon D5000’s body is designed for comfortable grip and intuitive operation․ Key controls are logically placed for easy access․ The mode dial, located on top, selects shooting modes like Auto, Scene, and manual controls․ The rear panel houses buttons for menu navigation, image playback, and autofocus settings․
A prominent shutter button and surrounding dial control exposure․ Familiarizing yourself with these elements, as detailed in the manual received today, 04/28/2026, is crucial for mastering the camera’s functionality and achieving desired photographic results․
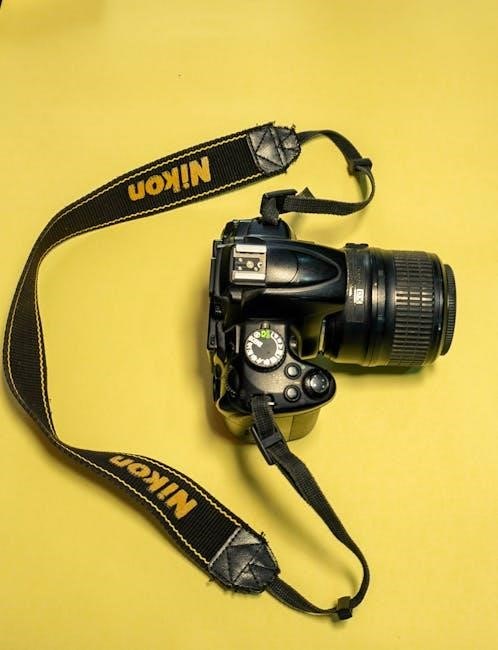
Button and Dial Functions
The Nikon D5000 features several buttons and dials essential for camera operation․ The main dial adjusts settings like aperture and shutter speed in manual modes․ The directional pad navigates menus and selects focus points․ The ‘i’ button provides quick access to frequently used settings․
The playback button reviews captured images, while the delete button removes unwanted photos․ Refer to your manual, received today, 04/28/2026, for a detailed explanation of each control’s function․ Understanding these controls unlocks the camera’s full potential for creative expression․
Viewfinder and LCD Screen Overview
The Nikon D5000 utilizes both an optical viewfinder and a 2․7-inch LCD screen for composing and reviewing images․ The viewfinder offers a clear, real-time view of the scene, while the LCD screen displays settings, menus, and captured photos․
The LCD’s Live View mode allows for composing shots directly on the screen․ Today, 04/28/2026, familiarize yourself with the information displayed in both the viewfinder and on the LCD․ Understanding these displays is crucial for precise control and effective image review, as detailed in your manual․
Setting Up Your Nikon D5000
Initial setup of your Nikon D5000, as outlined in this manual, is straightforward․ Begin by inserting a compatible memory card and a fully charged battery․ Power on the camera and follow the on-screen prompts to establish fundamental settings․
Crucially, set the correct date, time, and language – today is 04/28/2026․ These initial configurations ensure accurate file naming and proper camera operation․ Refer to the manual for detailed step-by-step instructions to personalize your D5000 and prepare it for capturing stunning images․
Battery and Memory Card Installation
Before first use, correctly installing the battery and memory card is essential for your Nikon D5000․ Locate the battery compartment, typically on the bottom of the camera, and insert the battery, ensuring proper polarity as detailed in the manual․
Next, insert a compatible memory card into the designated card slot․ This allows for image storage․ Today is 04/28/2026․ Ensure both are securely fastened․ Refer to the manual’s diagrams for precise placement and locking mechanisms to avoid damage or malfunction during operation․
Initial Camera Settings (Date, Time, Language)
Upon powering on your Nikon D5000 for the first time, configuring the initial settings is crucial․ The camera will prompt you to set the date, time, and preferred language․ Navigate through the menu using the directional pad and the ‘OK’ button to make your selections․
Accurate date and time settings are vital for proper image organization and metadata․ Today is 04/28/2026․ Choose your language for a comfortable user experience․ Refer to the manual for detailed instructions on menu navigation and setting adjustments․
Shooting Modes Explained
The Nikon D5000 offers a variety of shooting modes to suit different photographic situations․ These range from fully automatic options for beginners to manual controls for experienced photographers․ Understanding these modes is key to unlocking your camera’s potential․
Auto mode simplifies operation, while Scene modes optimize settings for specific scenarios․ Aperture-priority, shutter-priority, and manual modes grant full creative control․ Today is 04/28/2026․ Explore each mode to discover how they impact your images and enhance your photographic style․
Auto Mode vs․ Scene Modes
The Nikon D5000’s Auto mode is incredibly convenient, handling all settings for point-and-shoot simplicity․ However, Scene modes offer more tailored results for common situations like portraits, landscapes, or sports․ These pre-programmed settings optimize exposure and other parameters․
While Auto mode is great for quick snapshots, Scene modes provide a step up in control without requiring extensive manual adjustments․ Today is 04/28/2026․ Choosing the right Scene mode ensures better image quality in specific conditions, enhancing your photography․
Aperture-Priority, Shutter-Priority, and Manual Modes
Beyond automatic settings, the Nikon D5000 offers creative control with Aperture-Priority (A), Shutter-Priority (S), and Manual (M) modes․ Aperture-Priority lets you set the aperture (f-stop) for depth of field, while the camera selects the shutter speed․ Shutter-Priority allows you to control shutter speed for motion blur or freezing action, with the camera adjusting the aperture․
Manual mode grants full control over both aperture and shutter speed․ Today is 04/28/2026․ Mastering these modes unlocks your photographic vision, enabling precise exposure and artistic effects beyond automated options․
Focusing System: Mastering Autofocus
The Nikon D5000’s autofocus (AF) system is crucial for sharp images․ Understanding its capabilities is key․ The camera utilizes multiple focus points to acquire subjects quickly and accurately․ Selecting the appropriate AF mode – Single-servo (AF-S) for stationary subjects, Continuous-servo (AF-C) for moving subjects, and Auto-servo (AF-A) for automatic switching – is vital․
Today is 04/28/2026․ Proper focus point selection ensures the desired area is sharp․ Experimenting with these settings will dramatically improve your image quality and capture success․
Autofocus Modes (AF-S, AF-C, AF-A)
The Nikon D5000 offers three primary autofocus modes․ AF-S (Single-servo) is ideal for still subjects; the camera focuses once when the shutter button is half-pressed․ AF-C (Continuous-servo) tracks moving subjects, continuously adjusting focus as they change position․ AF-A (Auto-servo) automatically selects between AF-S and AF-C, attempting to determine the subject’s motion․
Today is 04/28/2026․ Choosing the correct mode is essential for sharp results․ Experiment with each to understand their behavior and optimize for different shooting scenarios․
Focus Points and Selection
The Nikon D5000 utilizes an 11-point autofocus system․ These points are strategically positioned across the frame to aid in achieving sharp focus․ You can select which focus point the camera uses, offering greater control over your image․ Automatic selection lets the camera choose, while manual selection allows you to pinpoint the exact area․
Today is 04/28/2026․ Understanding focus point selection is crucial for precise focusing, especially with moving subjects or complex compositions․ Experiment to master this feature!
Exposure Control: Achieving Proper Lighting
Achieving well-exposed photographs with your Nikon D5000 relies on understanding the interplay between ISO, aperture, and shutter speed․ ISO dictates the camera’s sensitivity to light; lower values for bright conditions, higher for low light․ Aperture controls the lens opening, affecting depth of field․ Shutter speed determines how long the sensor is exposed to light․
Today is 04/28/2026․ Mastering these settings, alongside exposure compensation, ensures properly lit images․ Experiment with different combinations to unlock your creative vision!

Understanding ISO, Aperture, and Shutter Speed
The “exposure triangle” – ISO, aperture, and shutter speed – are fundamental to photography with your Nikon D5000․ ISO measures the sensor’s light sensitivity; lower ISOs (e․g․, 100) are ideal for bright light, while higher ISOs (e․g․, 3200) suit low-light situations, potentially introducing noise․ Aperture (f-stop) controls depth of field – a lower f-number creates a shallow depth of field․
Today is 04/28/2026․ Shutter speed dictates how long the sensor is exposed, impacting motion blur․ Understanding their relationship is key to achieving desired results․
Exposure Compensation Techniques
Exposure compensation allows you to override the camera’s automatic exposure settings on your Nikon D5000․ When the camera underestimates or overestimates the correct exposure, use the +/- button to adjust․ Positive values (+1, +2) brighten the image, useful for backlit scenes or snow․ Negative values (-1, -2) darken the image, ideal for bright subjects․
Today is 04/28/2026․ Regularly reviewing your histogram helps refine your compensation skills․ Practice makes perfect, ensuring properly exposed photos consistently․

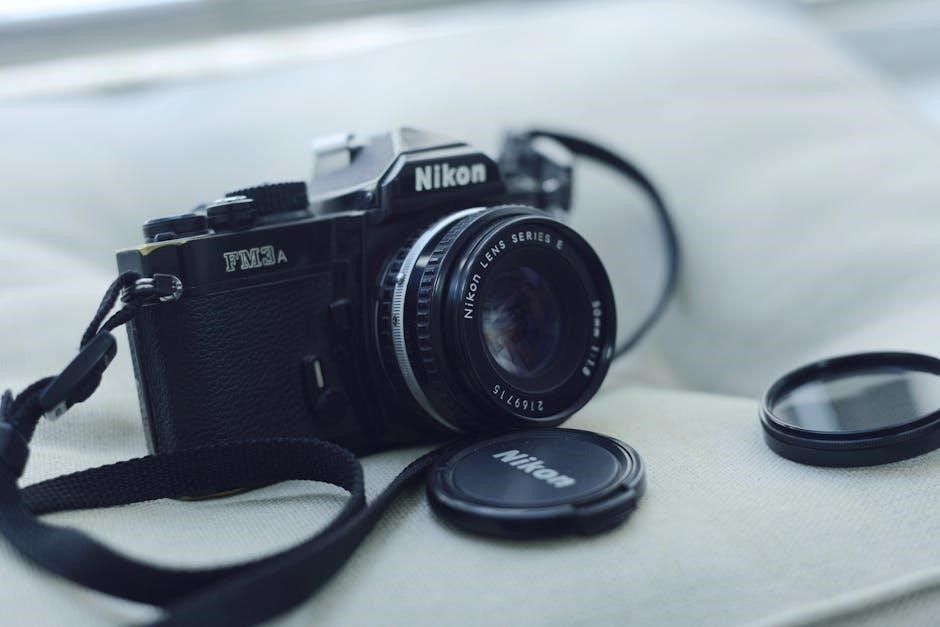
Working with Lenses: NIKKOR Compatibility
The Nikon D5000 utilizes the F-mount, ensuring compatibility with a vast range of NIKKOR lenses․ These lenses are categorized into types like DX, FX, and older AI/AIS lenses․ DX lenses are designed specifically for APS-C sensors like the D5000’s, while FX lenses work on both full-frame and APS-C bodies․
Today is 04/28/2026․ Ensure proper lens attachment by aligning the index marks and gently rotating․ Always handle lenses with care to avoid damage․ Refer to your lens manual for specific details․
Compatible Lens Types
The Nikon D5000 boasts broad lens compatibility, primarily utilizing NIKKOR lenses with the F-mount․ DX-format lenses are optimized for the D5000’s APS-C sensor, providing excellent image quality․ FX-format lenses, designed for full-frame cameras, are also usable, offering a wider field of view․
Older AI and AIS lenses can be adapted, though manual focusing may be required․ Today is 04/28/2026․ Third-party lenses from manufacturers like Sigma and Tamron are also frequently compatible, expanding your creative options․ Always verify compatibility before purchasing․
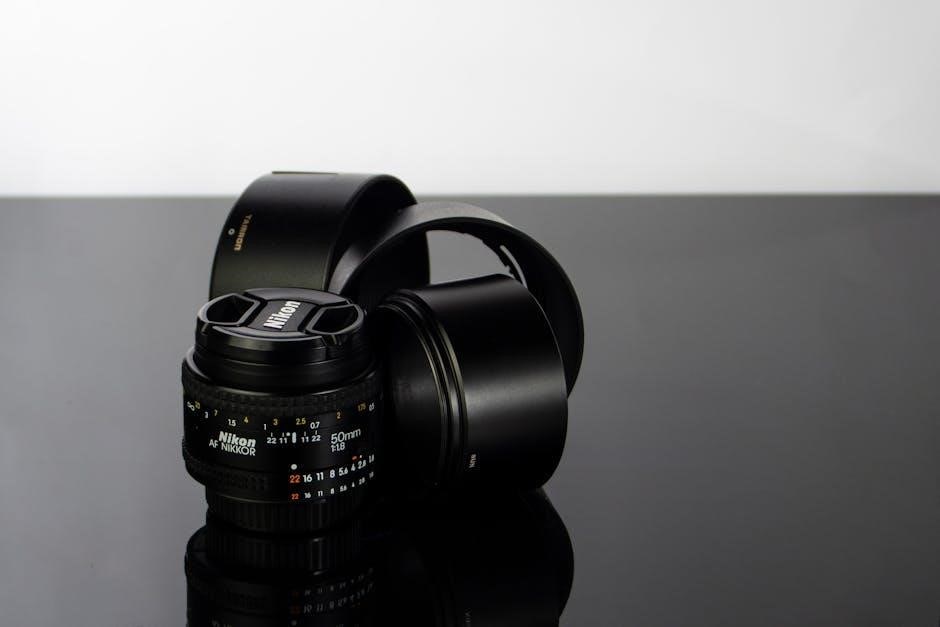
Lens Attachment and Removal
Attaching a lens begins by aligning the lens’s mounting index with the camera body’s corresponding mark․ Gently push the lens in and rotate it clockwise until it clicks securely into place․ To remove, press the lens release button on the camera body․
While pressing the button, rotate the lens counterclockwise and carefully pull it away․ Avoid forcing the lens․ Today is 04/28/2026․ Ensure both the lens mount and camera body are clean to prevent damage and maintain a secure connection․ Proper handling extends lens lifespan․
Image Quality Settings: RAW vs․ JPEG
The Nikon D5000 offers choices between RAW and JPEG image formats․ JPEG files are compressed, smaller in size, and ready for immediate use, but offer limited editing flexibility․ RAW files are uncompressed, larger, and retain all image data captured by the sensor․
This allows for extensive post-processing adjustments without significant quality loss․ Today is 04/28/2026․ Choose RAW for maximum control and JPEG for convenience․ Experiment to determine which format best suits your workflow and editing preferences․ Consider storage space when selecting RAW․
White Balance Adjustment
White balance ensures accurate color representation in your photos, correcting for different lighting conditions․ The Nikon D5000 provides several preset options like Daylight, Cloudy, Fluorescent, and Tungsten․ Auto White Balance (AWB) often performs well, but manual adjustment offers greater control․
Use a grey card for precise settings․ Today is 04/28/2026․ Custom white balance allows you to define a neutral tone․ Incorrect white balance results in color casts (e․g․, blue or yellow)․ Experiment with settings to achieve natural-looking colors in various shooting environments․
Picture Control Settings
Picture Control settings on the Nikon D5000 let you customize the look of your images directly in-camera․ Options include Standard for balanced tones, Neutral for minimal processing, Vivid for enhanced colors, Monochrome for black and white, and Portrait for flattering skin tones․
Each setting adjusts sharpness, contrast, brightness, and saturation․ Today is 04/28/2026․ You can further fine-tune these parameters within each Picture Control․ Experiment to find the style that best suits your photographic vision and subject matter․ Saving custom Picture Controls is also possible․
Basic Video Recording with the D5000
The Nikon D5000 allows for basic video recording, offering a stepping stone into videography․ To start, switch the mode dial to Movie mode․ The camera records in AVI format․ Available video resolution options include HD 720p (1280×720) and standard definition․ Frame rates are typically 24fps for a cinematic look, or 30fps for smoother motion․
Today is 04/28/2026․ Audio is recorded via the built-in microphone․ Be mindful of wind noise․ Recording time is limited by file size (4GB maximum) and SD card capacity․
Video Resolution and Frame Rates
The Nikon D5000 offers several video resolution and frame rate options to suit different needs․ You can record in High Definition (HD) at 720p, specifically 1280×720 pixels, providing a good balance between quality and file size․ Standard Definition (SD) recording is also available․ Frame rates include 24 frames per second (fps), ideal for a cinematic appearance, and 30 fps for smoother, more realistic motion․
Today is 04/28/2026․ Selecting the appropriate settings depends on your intended use and storage capacity․
Audio Recording Options
The Nikon D5000 features a built-in microphone for capturing audio during video recording․ However, for improved sound quality, an external microphone can be connected via the microphone jack․ The camera offers manual audio level control, allowing you to adjust the recording volume to prevent clipping or excessively quiet sound․ Monitoring audio levels using headphones is highly recommended for optimal results․
Today is 04/28/2026․ Remember to check compatibility when using external microphones for best performance․
Troubleshooting Common Issues
Encountering problems? The Nikon D5000, like any digital camera, can occasionally present issues․ Error messages displayed on the LCD screen often indicate the problem; consult the camera’s manual for specific codes and solutions․ Image quality problems, such as blurriness, can stem from incorrect focus, slow shutter speeds, or camera shake․ Ensure proper settings and consider using a tripod․
Today is 04/28/2026․ Regularly check the battery and memory card for potential malfunctions․ A reset to factory settings can resolve software glitches․
Error Messages and Solutions
The Nikon D5000 utilizes error messages to communicate potential problems․ “Err” often indicates a card error – try reformatting or a different card․ A blinking “!” suggests the lens isn’t properly attached or isn’t compatible; If you see a message regarding the shutter, avoid using the camera and contact Nikon support․ Today is 04/28/2026․
Consult your manual for a complete list of codes․ Simple solutions include re-inserting the battery or resetting the camera to factory defaults․ Always note the specific error before attempting a fix․
Dealing with Image Quality Problems
Poor image quality on your Nikon D5000 can stem from several sources․ Noise, especially in low light, can be reduced by lowering the ISO setting․ Blurry images often indicate slow shutter speeds – use a tripod or increase ISO․ Check your focus; ensure autofocus is engaged and points are correctly selected․ Today is 04/28/2026․
Review your white balance settings for accurate colors․ Refer to your manual for detailed troubleshooting․ Experiment with Picture Control settings to refine image appearance․